Get template from franchisee. Note it
Must contain whatever they want the customer to sign, in PDF format
Must NOT contain the invoice/estimate itself (that can be auto-inserted during setup, but their PDF shouldn’t include a blank invoice/estimate as we won’t be able to autofill that)
Remember, templates can have franchisee-fillable fields and customer-fillable fields (franchisee-fillable fields will prompt the franchisee to enter them when they prepare each doc for signing.. this is used for things that are job specific). Customer-fillable fields are where the customer signs/dates/enters their favorite pet shop boys song.
Inside docspring, click ‘create template’
Upload it as a PDF
This will take you to the template editor:
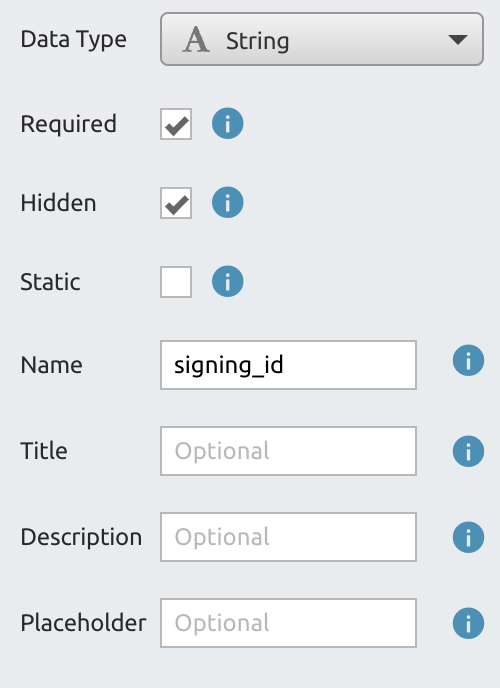
Add checkboxes/text fields/signature lines to each item on the page that needs to be fillable. Ensure you label the name (in the “Name” field on the right after you create the field). The name must be
Unique
Descriptive
Ideally no spaces, just underscores
Add a hidden field with this exact name.. this must exist somewhere
Once you have set up all the fields, go to settings

Under “embed domains” paste this: *.miraclemethodoffice.com,miraclemethodoffice.com,pod2.miraclemethodoffice.com,pod3.miraclemethodoffice.com,127.0.0.1:8000
In the URL bar, take the Template ID - this starts with ‘tpl_’ and is this part of the url:
Go to the franchisees pod in Compass.
Under Super Admin, go to eSigning Templates
Click ‘Add Template’
Give it a name – specific to the location optimally, i.e. “Tempe Customer Agreement”
Paste the Template ID
Choose the franchise location
Choose where in the sales process the customer will be prompted for this doc.
Then click Save
Now, pick the invoice/quote template to use with the zee (note: applies only if the ‘prepend document with copy of invoice/quote’ checkbox was selected)
For each field, choose whether the franchisee or customer needs to sign/fill in the info.
Save this screen.
Now you can test the template (click ‘test’ yellow button)
If the test goes OK, you can now go into Company Settings>General and enable e-signing for the relevant step of the process.